How to Apply Wine Labels On a Bottle

Stuck in deciding the perfect gift for the holidays, a birthday, or an office party? Wine is the classic, elegant beverage for all to enjoy over a nice snack or meal – it brings people together in celebration. To add a personal touch to your gift, you can create a personalized wine label. Wine labeling is a fun, easy gift idea for any occasion. Let us teach you how to remove wine bottle labels and apply your own.
Adding your own labels to wine is a simple, no-mess way to create a great gift. And anyone can do it!
Whether you want a creative activity to keep yourself active or you’re looking to have fun with the girls, creating your own wine labels is a fresh, new, elegant idea.
Custom labeled wine makes a great gift for your boss, sisters, or family around the holidays, a unique bridesmaid gift, or a great addition to your company party.
While everyone else was expecting new socks or ties, you’ll be giving a spunky gift no one knew they wanted! It’s perfect.
And here is how to make a terrific gift by using custom wine labels:
Before you start labeling…
1. Buy your favorite wine

Before you can start the wine label application, you have to pick out what wine bottle you want to use. Maybe a great holiday red or a sweet and tangy white. From Chardonnay and Chablis, to Pinot Noir and Malbec, there are many fabulous wines to choose from.
2. Create and print wine labels
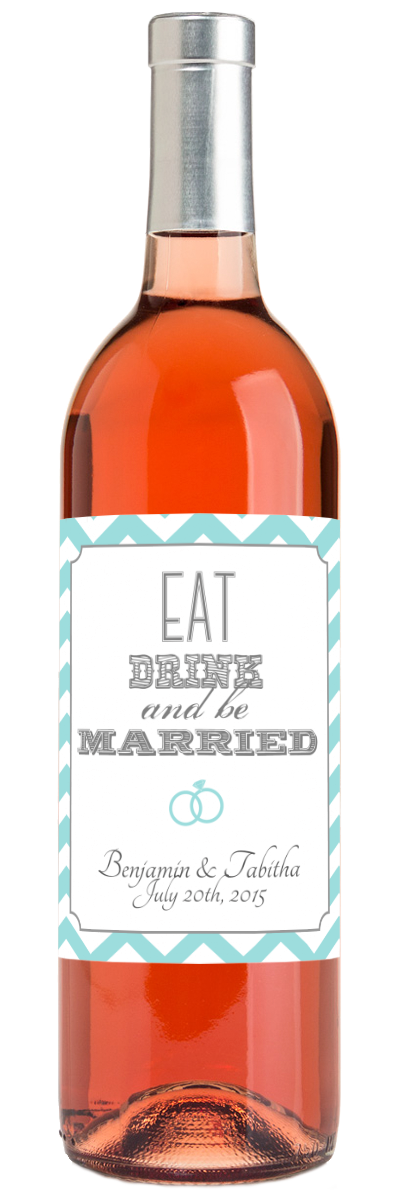
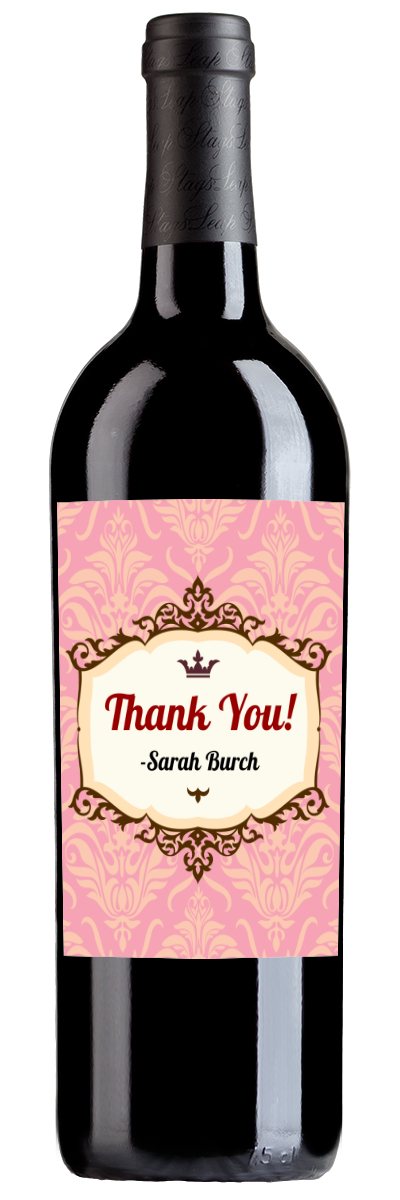
You can use our label maker to make personalized wine labels. It's easy to use and you don't have to worry about printing, cutting, or sizing. You can buy sheets of labels or you can choose from our wide selections of wines and we will ship the bottle to you with the label already applied! If you choose to do all these steps at home yourself you can design your labels using Microsoft Word or PrintShop, by hand, or through a local printing service. Have them printed on adhesive labels or paper with gum material for ease of use.
Now that you have your wine selected and labels printed…
3. Remove the label from your wine bottle
 picture via: rootedinloveweddings.wordpress.com
Get some OxyClean or baking soda and place it in your sink (stop it up first), filling it to about half with warm water and one scoop of OxyClean or 10 tablespoos of baking soda. Agitate the water, put the wine bottle into the sink, and let that sit for 45 minutes.
Once the bottle has soaked for the needed time, pull it out and gently remove the label. If it doesn’t come off right away, let the bottle soak a bit more. Use a sponge to remove any excess label or adhesive and thoroughly wash your bottle to remove cleaning solution.
4. Add your label to the bottle
Now that you have your new label, and a clean bottle, you have to get it on the bottle. A good trick is to lay the bottle horizontally, flat between your legs. This way the bottle won’t move around and you have your hands free to peel the wine label and apply it to the bottle.
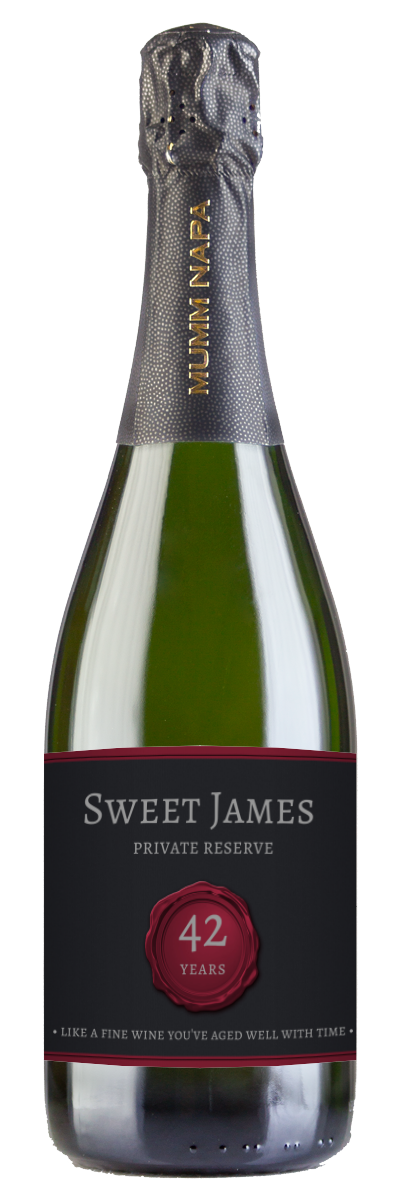
Peel away the wine label and apply it to the front of the bottle, making sure to rub out any creases or imperfections. Apply any extra pressure to the label that is needed. And, voilà, you have your own custom-designed wine!
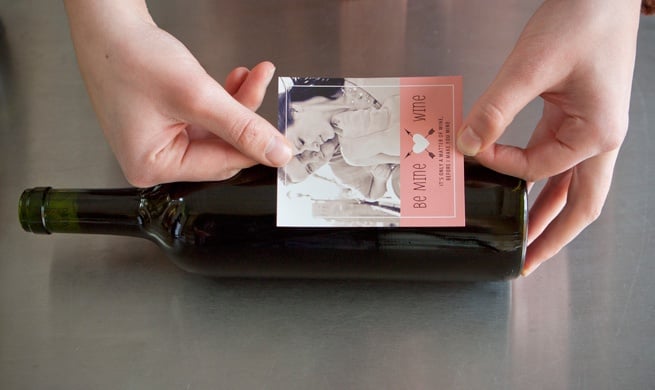 Picture Via: Evermine.com
5. Give the perfect gift
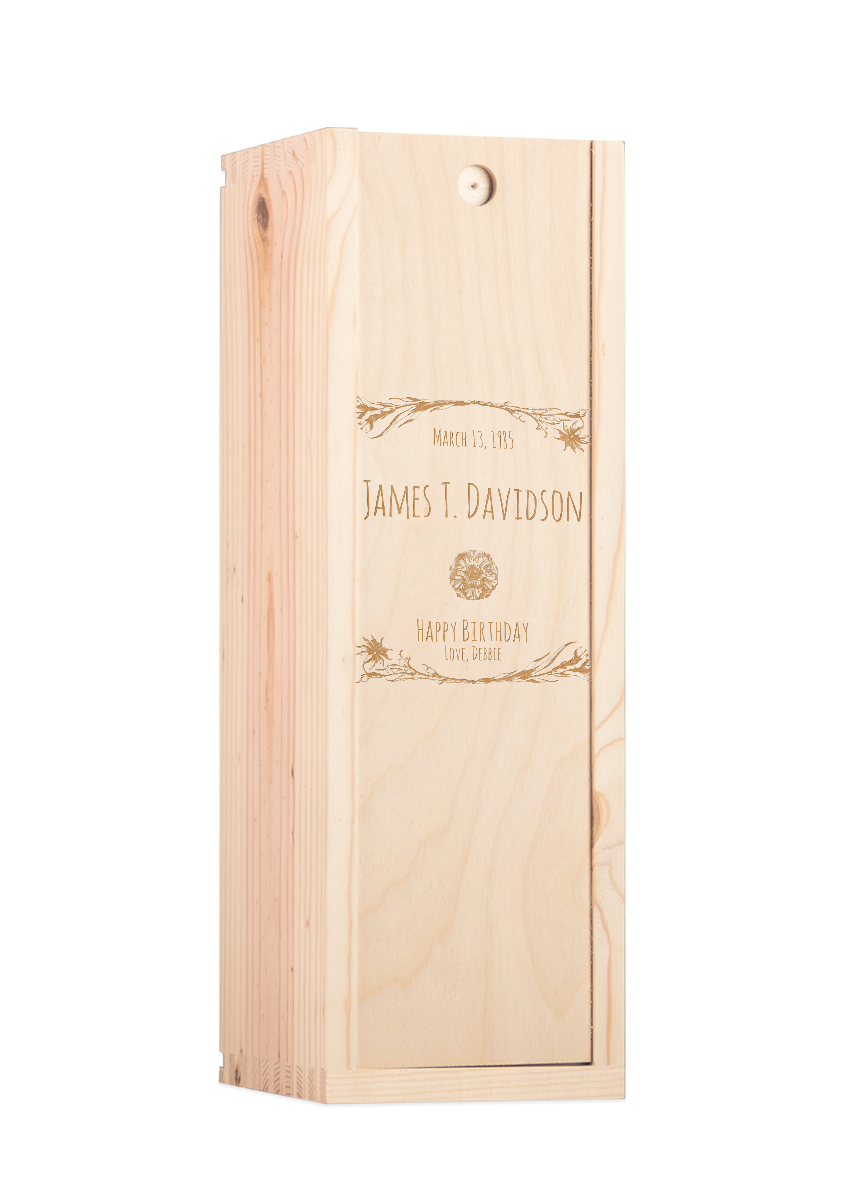
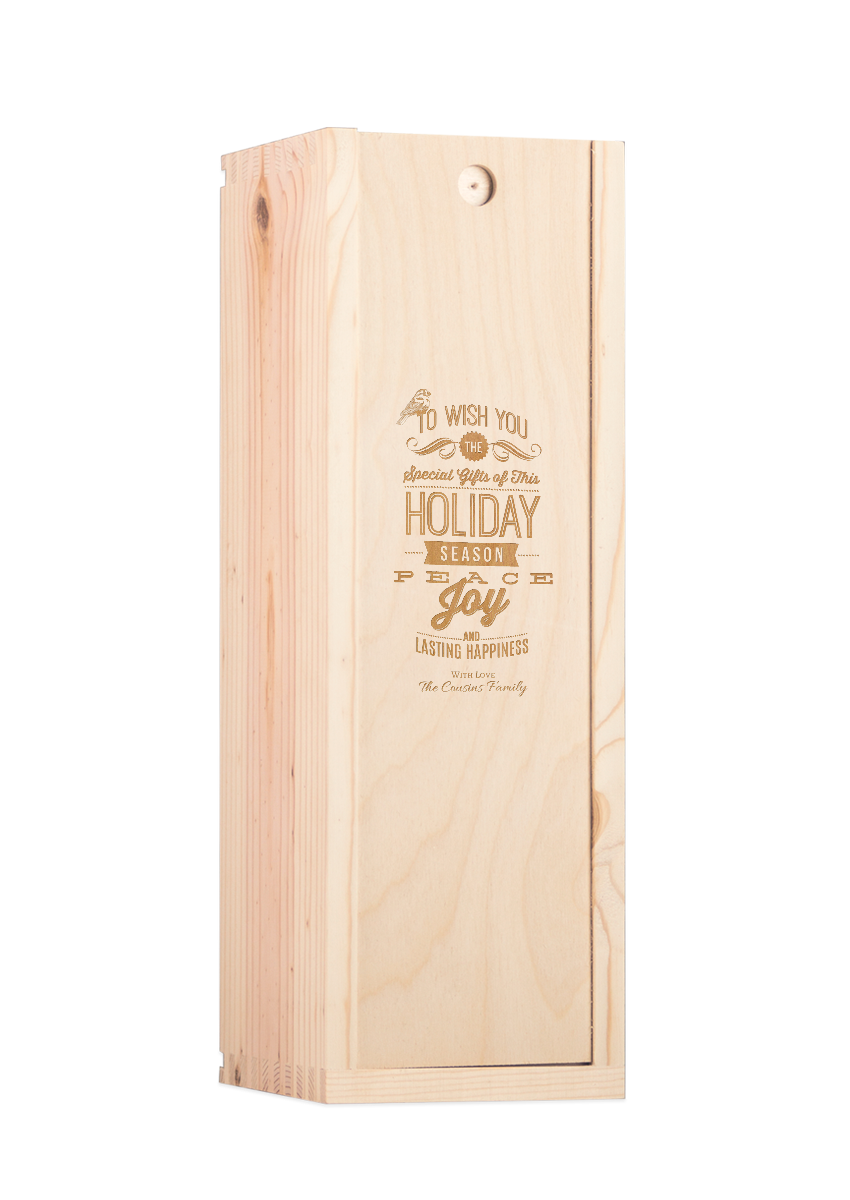
If you’re giving your custom wine label as a gift, you can wrap the wine bottles in fun, themed tissue paper, or you can get an engraved wood box for an extra special occasion. Watch the surprised and delighted faces of your family and guests as they see this exciting reveal!
